Create a Stunning Hair Blend Effect in Adobe Illustrator Using Object Blend
Introduction
⬅ Back to Blog
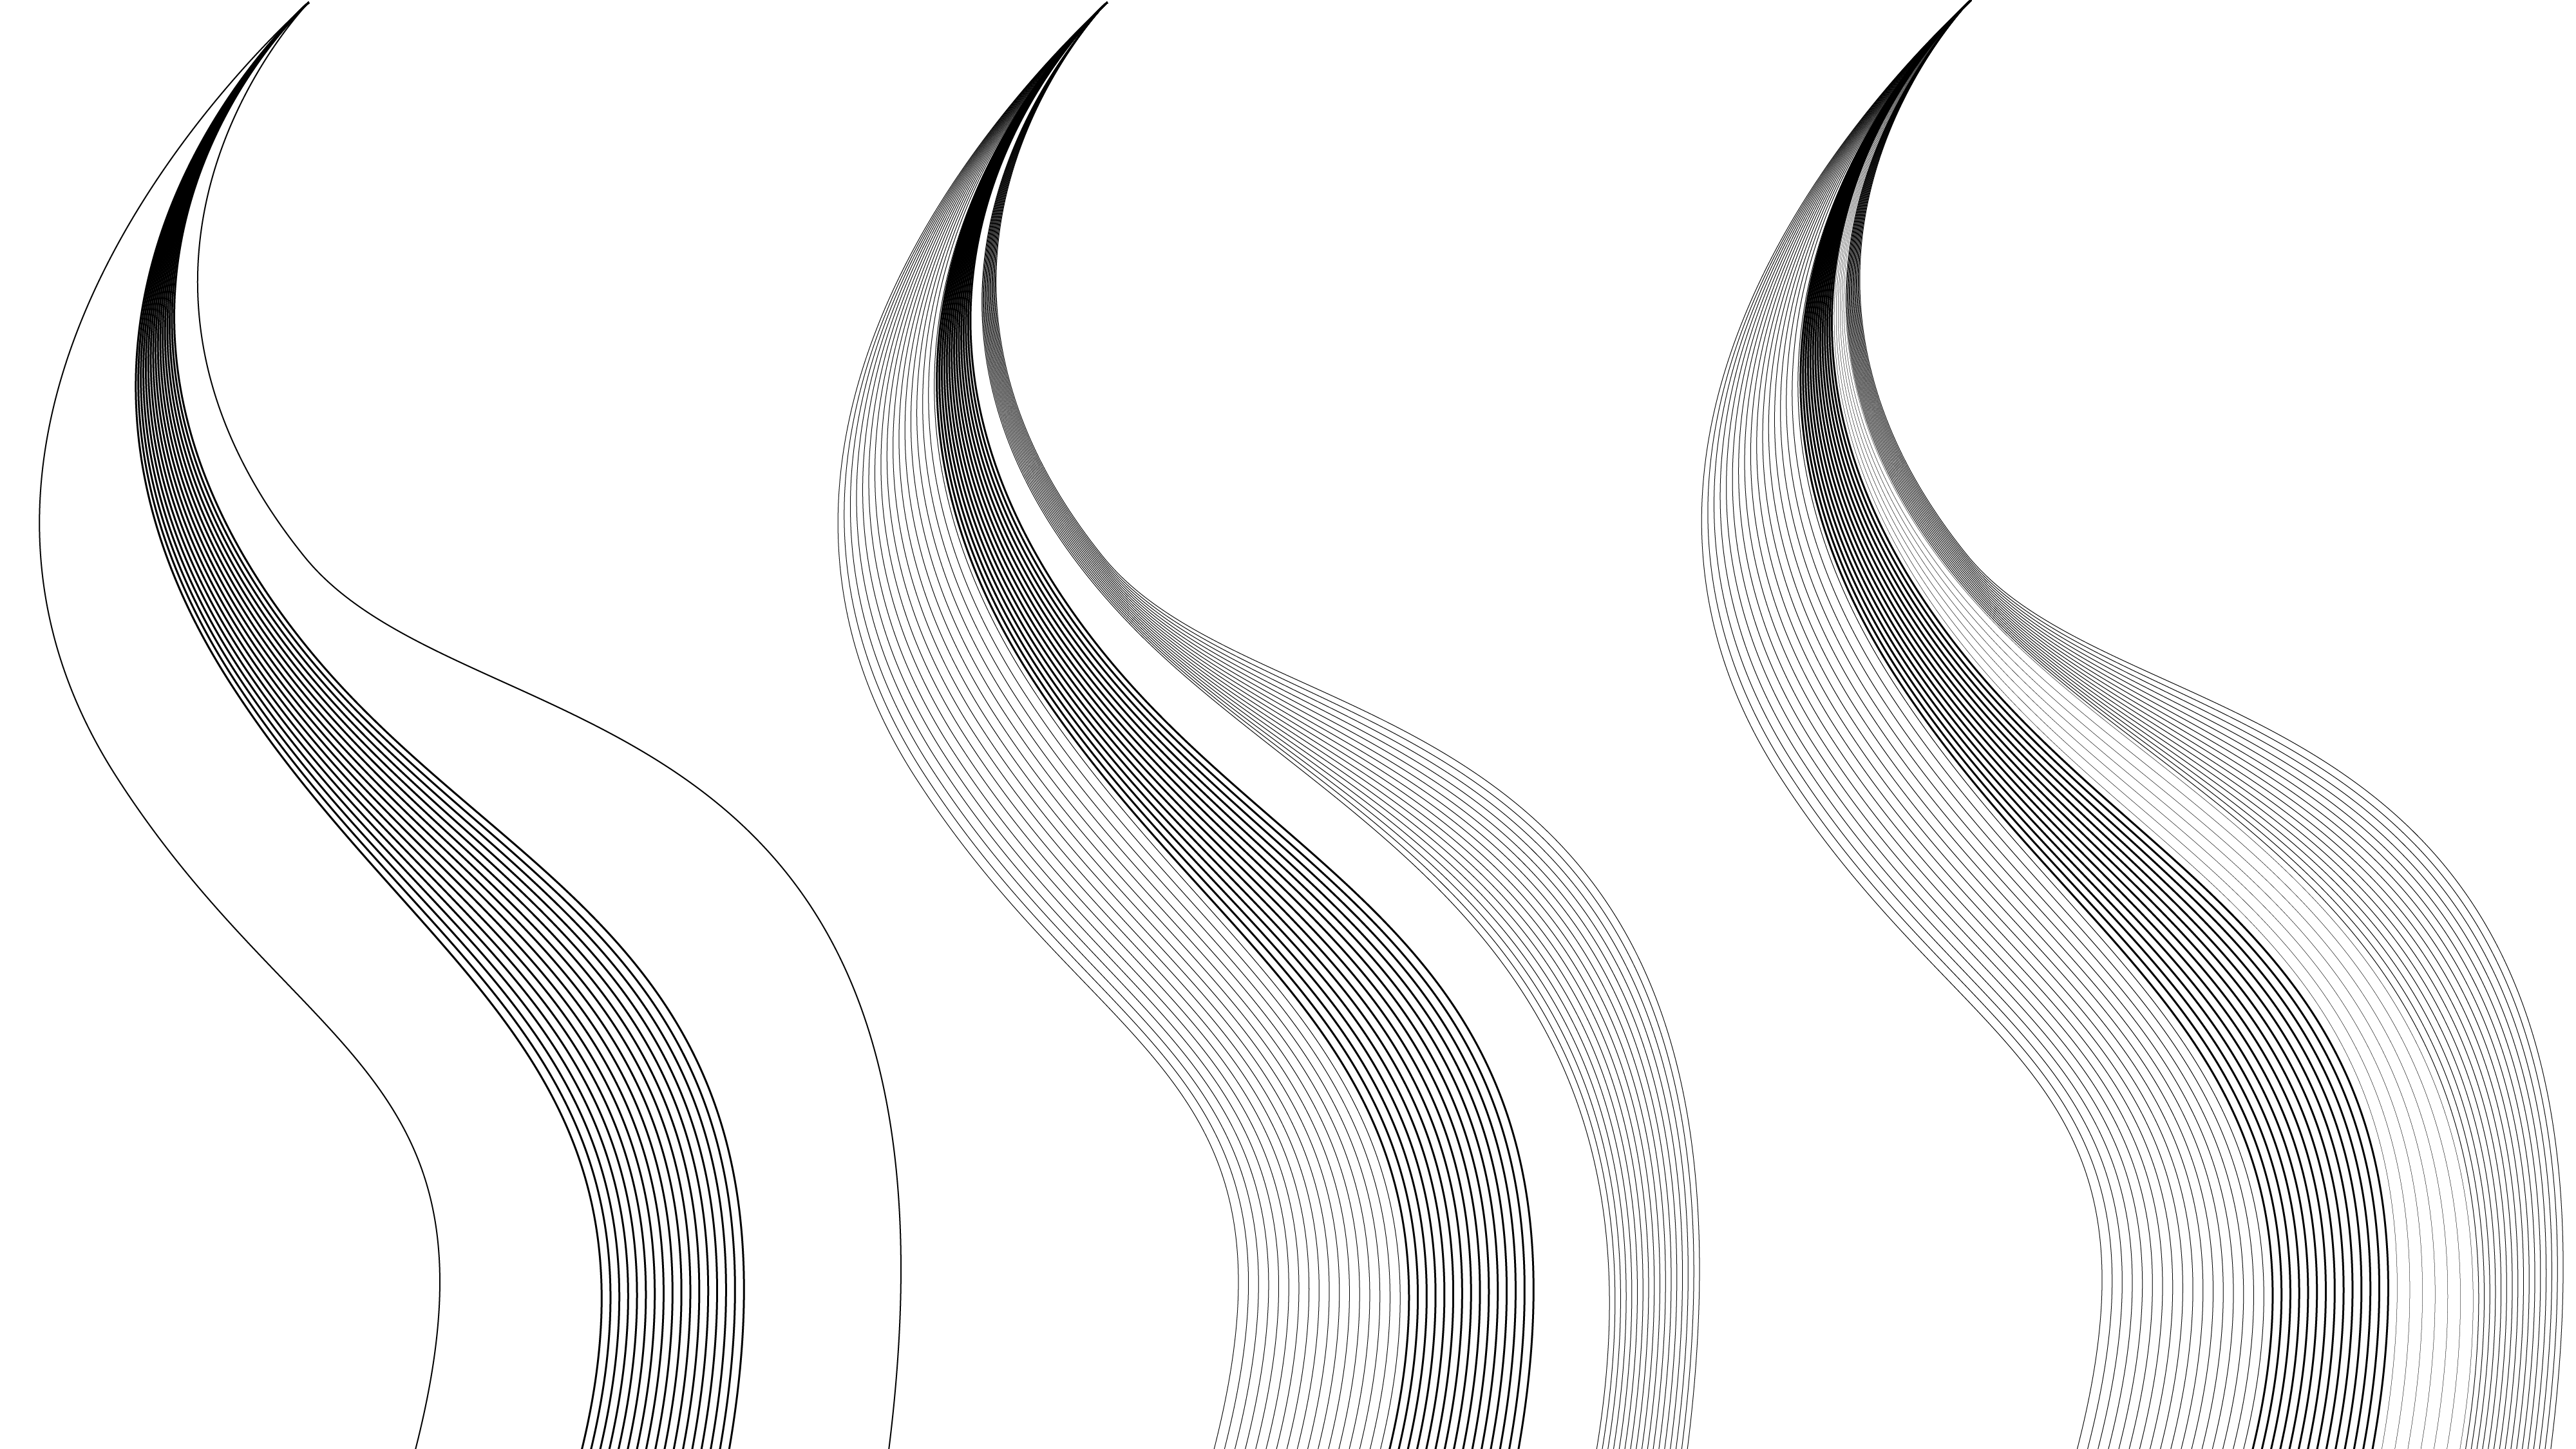
Want to create smooth, flowing hair effects in Adobe Illustrator? The Object Blend tool is perfect for blending shapes, making it ideal for hair, waves, and dynamic designs. Follow this guide to master it!
What You'll Learn- How to use the Object Blend tool in Illustrator
- Creating smooth, gradient-like transitions
- Adjusting blend settings for the best results
- Open Adobe Illustrator and create a new document.
- Select the Pen Tool (P) or Ellipse Tool (L) to draw base shapes.
- Use the Pen Tool (P) to draw two curved paths.
- Ensure both paths have stroke colors that blend well.
This creates intermediate steps between the paths.
Step 4: Refining the Blend Effect- Go to Object > Blend > Blend Options.
- Set Spacing to "Specified Steps" for a smooth transition.
- Use the Gradient Tool (G) for depth.
- Adjust Opacity and Transparency for a natural look.
- Group objects (Ctrl+G / Command+G).
- Save your artwork as an AI, PNG, or SVG file.
By using Object Blend, you can create stunning, dynamic hair effects in Adobe Illustrator. Keep experimenting and let us know your thoughts!
Leave a Comment
Log in to leave a comment.